How Can We Help?
You have your new WordPress site; you’ve written your first blog article and you’re eager to get posting but you’re not sure how. We can help! Just follow this guide to get started.
Let’s Get Started
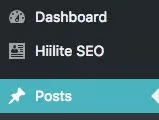
Log into your WordPress site and click Posts in the lefthand menu.
See our guide on login into WordPress
Then click the Add New button at the top of the page.
First, The Title
Start by giving your post a title. This will be your main headline.

Next, The Text
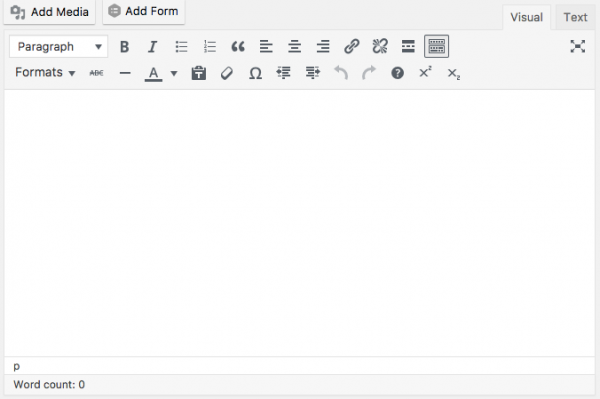
Write or copy & paste your post into the text editor. The editor has the same basic functionality as a word processing program, allowing you to bold and italicize words, make lists, and change the text alignment.
Jazz It Up
So now you’ve got your content; let’s format it to help guide your readers through your article.
First we’ll format the headings. Headings help indicate an informational hierarchy and break up your post into content-based sections.
Highlight your heading and click on the Paragraph dropdown. Then select your heading type.
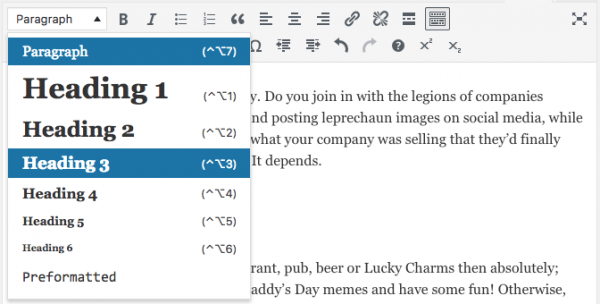
Heading 1 is for you blog title, which will be automatically inserted at the beginning of your post.
Heading 2 is for your next most important headline, like a subtitle.
Headings 3, 4, 5 and 6 are used for to further indicated additional sub heading within your article with heading 3 being more important and prominent than heading 4 and so on.
Next, we will use Bold and Italicize to provide emphasis on important words or sentences. Remember, this is just to highlight important information. Don’t over do it!
Finally, adding links. Your post may reference other pages on your site or other people’s websites. To link to these, highlight the text you want to turn into a link, then click on the icon that looks like a pair of links in a chain .
You will then see a text box where you can put the URL or address of the page or site you want to link to.

Once you have input your URL, click the blue arrow button to apply it and there you go!
Quick Tips
Copy Paste & Formatting
If you copy & paste your text from a word processor, the formatting may transfer over. This can be either helpful, or problematic, depending on how well the formatting translates to the editor.
To prevent any existing formatting from being copied over, click the clipboard icon. This will strip out any pre-existing formatting when you post content into the text box. ![]()
You can also remove formatting from content after your have pasted it in by highlighting it and clicking on the icon that looks like an eraser.![]()
Editing Tools
To access more editing and formatting tools, click on the ![]() icon.
icon.
Let’s Get Visual
Ok, now for the fun part: adding images to your blog post.
Click where you want to place your image to set the text cursor.
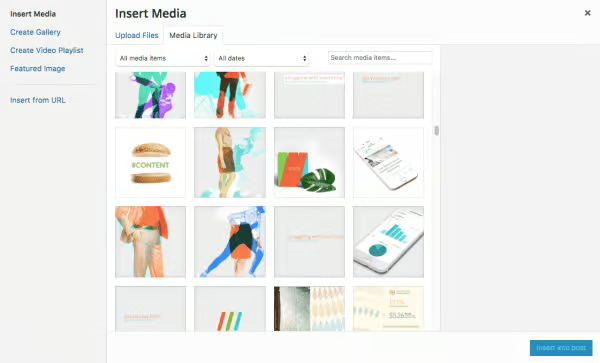
Next, click on the Add Media button above the editor.
![]()
This will open a pop-up window where you can browse through your images, or upload new ones. Simply select your image and click Insert Into Post.
Now is also a good time to set your post’s Featured Image.
Scroll down, and on the righthand side look for the Featured Image box.
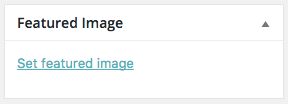
Click on Set Featured Image; this will open up the media browser again. Select your image, just like before, and click the Set Featured Image button.
Quick Tips
Images & Copyright
What images can I use? Any images that you took yourself are obviously fine, but things get trickier when you want to use images from other sources. Make sure that the images you are using are available under an appropriate Creative Commons license.
Depending on the license, you may need to provide proper attribution in order to use the image.
To learn more about the different Creative Commons licenses, click HERE.
For information on how to properly attribute an image, click HERE.
The Devil’s In The Details
Now for the final touches.
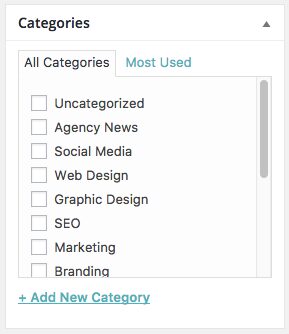
Categories
On the righthand side, under categories, select those that apply to your post.
You can also add a new category, and even create sub-categories by clicking on + Add New Category.
The category should fit the overall topic of your post and will help readers search your articles for specific types of content.
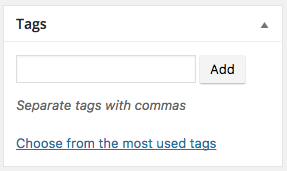
Tags
Now we can break down the key topics of your article even further. On the right, below Categories is the Tags box. Enter in any key words regarding your post here. You can enter in multiple tags at once, by separating them with a comma. You can also choose from tags that you have previously created by clicking on Choose from the most used tags.
Your tags could include things like topic keywords, companies or people that you mention, and other terms relevant to your article.
Ready, Set, Go!
The time has come. You are ready to post.
On the right, look for the Publish box.
First, click on Preview to see how your post will look before you commit to publishing it. Then go back and make any needed changes. You can also choose Save Draft if you want to keep working on it at a later time.
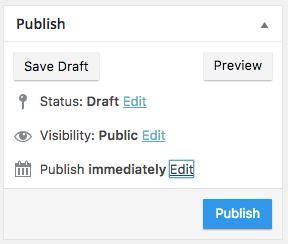
Once you’re happy with your post you have a few options.
You can click Publish and post it right away.
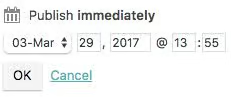
Alternatively, you can schedule your article to post sometime in the future. To do this, click where it says Edit, next to Publish Immediately. Then select the publishing date and time and click OK. The Publish button will change to Schedule. Click on that and voila, you’re done!