How Can We Help?
Does your site need pages? Don’t worry, here you’ll find our guide to creating and editing pages in WordPress using Visual Composer. No knowledge of HTML required!
NOTE: This guide assumes that you have Visual Composer installed, either through your theme or as a plugin.
Before We Start
Before we get started, it always helps to have some idea of what your content will be and an idea of how you want to lay it out. This will save you time when you are building your page and help you create a more polished look.
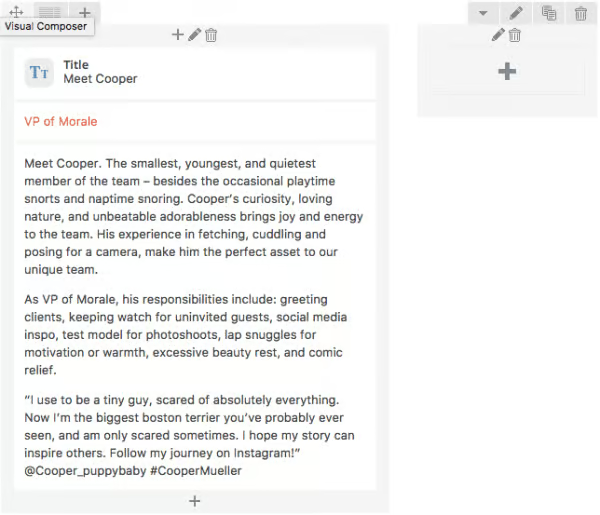
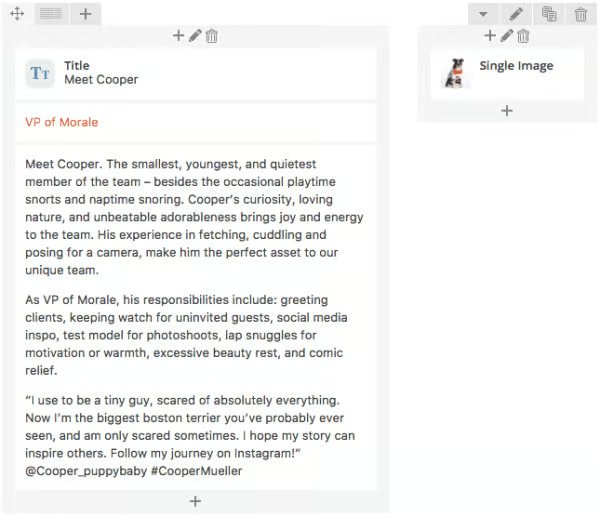
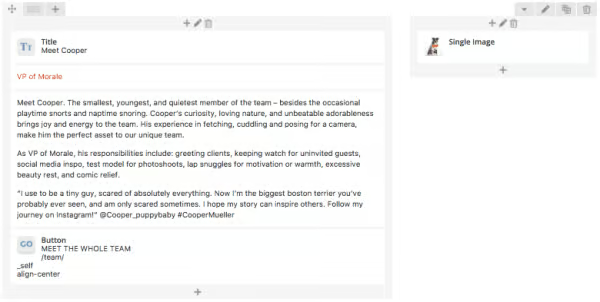
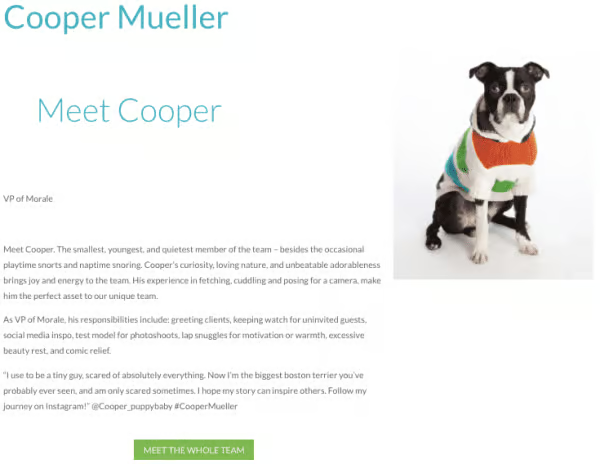
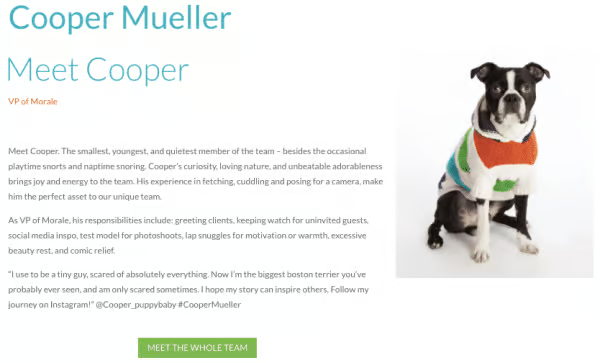
Here’s our design for Cooper’s page:
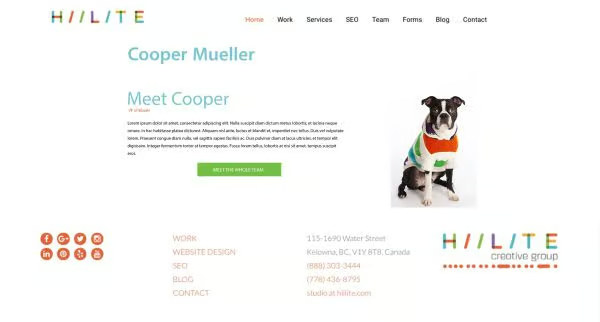
If you don’t have all your content yet, you can use placeholders in your layout. For example, I used filler text in this design to indicate how the final text content will be laid out.
The header and footer (the top and bottom sections) are automatically added to every page so we don’t need to worry about building those. We will just be concentrating on the middle section, containing our page content.
Quick Tips
Mockup
Your page mockup doesn’t need to be fancy. Even a quick sketch on a napkin can help you work out the layout of your page.
Let’s Get Going
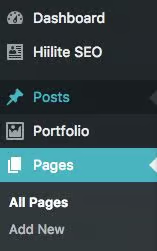
Log into your WordPress site and click Pages in the lefthand menu.
See our guide on how to login into WordPress
Then click the Add New button at the top of the page.
What’s in a Name?
Give your new page a name. This will be the title of the page and should reflect its purpose and content. It can be something as simple as About Me and it shouldn’t be too long.
This name will also become a part of the address or URL for you page. For example, we’re going to crate a page called Cooper Mueller, for our favourite puppy pal. The URL will look like this: hiilite.com/cooper-mueller/

Setting Up The Page
The next thing we’re going to do is select our page template from the Page Attributes box on the righthand side.
These templates come with your WordPress theme and control some basic layout rules for your page content. The templates you have will vary with each theme, so if you are not using our Hiilite Theme, you will have different options than the ones in this guide but you should still be able to follow along.
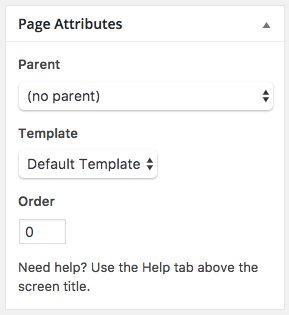
For Cooper’s page, we are going to use the Full Width template that comes with our theme. This will create a page where content is able to span the full width of the screen. Other options include our default template, where content stays within an area with a maximum width, and templates for specific kinds of pages, such as those for events.
Quick Tips
Subpages
You can make your page a subpage by going to the Page Attributes and selecting a parent page. For example, we could make Cooper’s page a subpage of our Team Members section by selecting our Team page as our parent page. The new URL would look something like this: hiilite.com/team/cooper/
Visual Composer, The Basics
Alright, our page it set up and it’s time to start adding content. Before we can do that though, we need to get familiar with our tools.
First, click on the button that says Backend Editor.
![]()
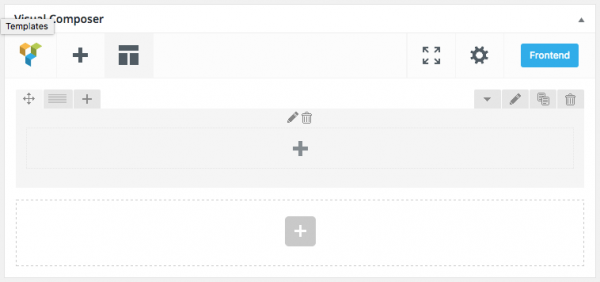
This will change your content box to use Visual Composer’s page building tools. It should now look something like this:
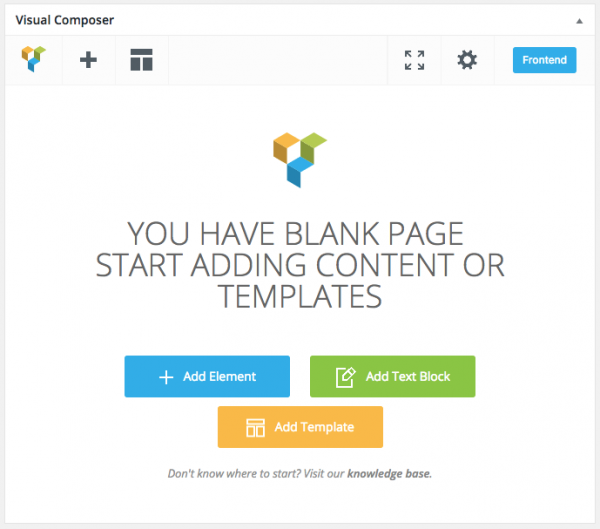
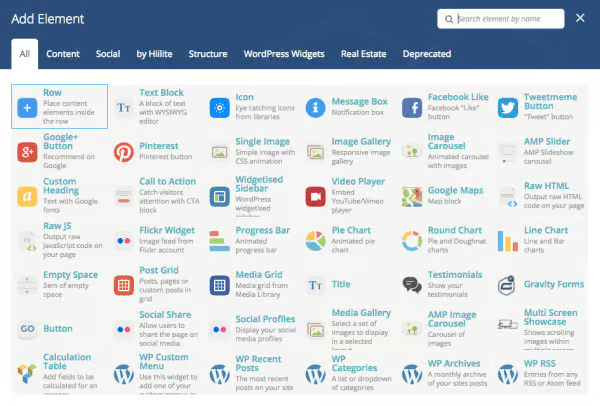
Next, click on the either + icon or the blue Add Element button. This is going to bring up a window with a lot of options but we’re going to start by selecting the Row option in the top left corner.
This will add a new row to our page, like this:
We’ll get more into what a row is and how it works in a minute but first, let’s go over how Visual Composer elements work.
Note: For some elements you may have to hover over them to display these options.
Edit
To edit an element click on the pencil icon ![]() .
.
Copy
To copy an element, click the icon that looks like two pages ![]() .
.
Move
To move an element, you can drag and drop using the directional arrows icon ![]() .
.
Delete
To delete an element, click on the trash icon ![]() .
.
Now we can start placing elements on our page.
Note: Depending on your theme and version, some of the options for each element may differ. We will only be going over the basic setting for these elements.
Rows & Columns
Rows and columns are the foundational elements of your page and control its layout.
Rows
Rows are horizontal containers in which you have one or more columns that contain your content.
When you create a row, you can access additional options by clicking the pencil icon.
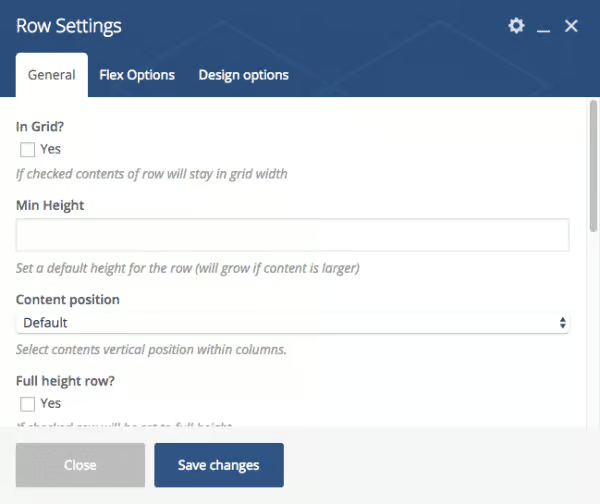
The first option you’ll see is a checkbox that says In Grid. Checking this will keep all of your row’s content contained within an area with a maximum width, no mater the size of the browser window. If left unchecked, your content can expand the full width of the window.
Below that is an option for Min Height. You can use this to set a minimum height in pixels for your row.
Content Position vertically aligns your content at the top, middle or bottom of the container.
Full Height Row creates a row that is as tall as the browser.
Setting Equal Height makes all of the columns inside the row the same height.
For Cooper’s page, we will start with the row we added above and we are going to set it to In Grid.
Columns
Columns are vertical containers within rows. Your content goes inside of these columns. You can use different combinations of columns to change the layout of your page. For example, we will be using a 2/3+1/3 column layout within our row.
All rows start out as a single column layout. To change this, hover over the icon that looks like a series of lines ![]() .
.
This will bring up additional options for our column layout. We will be selecting the 2/3+1/3 option. This will give us one column that is covers 2/3 and one that covers 1/3.
![]()
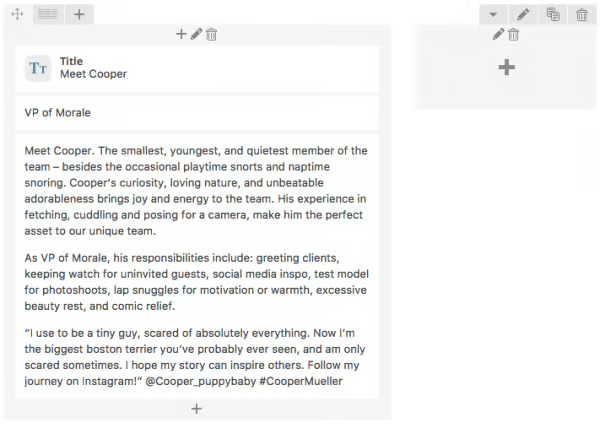
Now our new layout looks like this:

Adding Text
Headings
Headings help indicate an informational hierarchy and break up your page into content-based sections.
Heading 1 (h1) is for your page title, which will be automatically inserted at the beginning of your page.
Heading 2 (h2) is for your next most important headline, like a subtitle.
Headings 3, 4, 5 and 6 are used for to further indicate additional sub headings within your page, with heading 3 being more important and prominent than heading 4 and so on.
To add a heading, click on the + icon inside the column where you want to place your text. Then select the Title option.
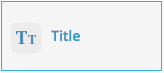
This will bring up the Title popup.
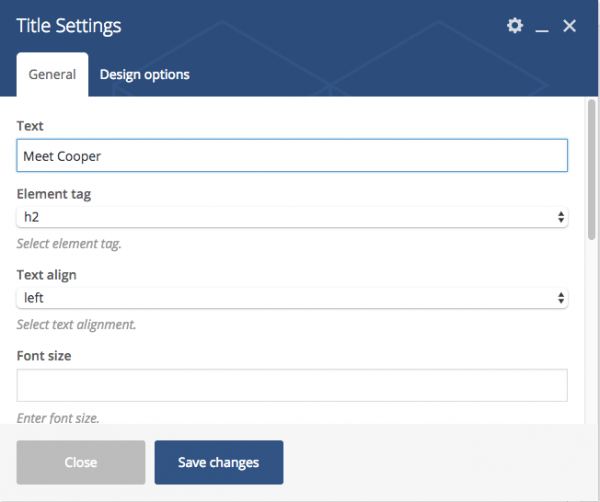
Enter your heading into the text box at the top, then select the heading type using the Element Tag dropdown.
Next we have the Text Align option, to set whether your title aligns to the left, centre or right.
Font Size can be used to override the default size for your chosen heading.
Below that is Line Height, which will override the default line height for your chosen heading.
After that, there is a Text Color option to change your heading’s default color.
Finally, there is the Link option. You can input a URL into this field to turn your heading into a link.

Body Text
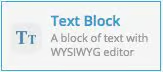
Now we are ready to start adding in some content. First we will start with a text box. Click on the + icon at the bottom of the column where you want to place your text. Then select the Text Block option from the popup.
This will bring up the text editor. This works the same way as it does when you are making a blog post, which you can read about HERE.
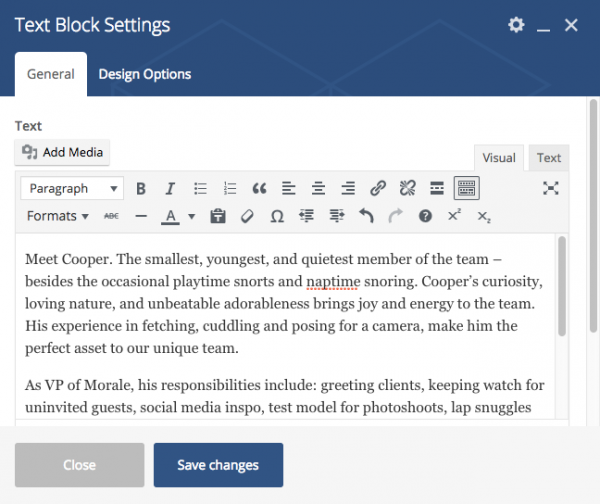
You can then style your text using Bold and Italicize to provide emphasis on important words or sentences. Remember, this is just to highlight important information. Don’t over do it!
You can also add links to your content. Your page may reference other pages on your site or other people’s websites. To link to these, highlight the text you want to turn into a link, then click on the icon that looks like a pair of links in a chain ![]() .
.
You will then see a text box where you can put the URL of the page or site you want to link to.

Once you have input your URL, click the blue arrow button to apply it and there you go!
When you are happy with your text, click Save Changes to close the editor.
Text Colour
To alter your text colour, highlight the section you want to change and click on the A icon ![]() . You may need to open this row of additional tools by clicking on the Toolbar Toggle
. You may need to open this row of additional tools by clicking on the Toolbar Toggle ![]() .
.
From here you can select a predefined colour or add a custom colour.
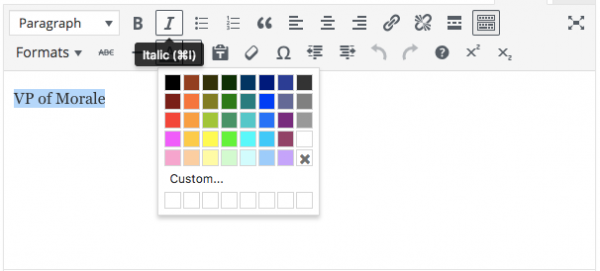
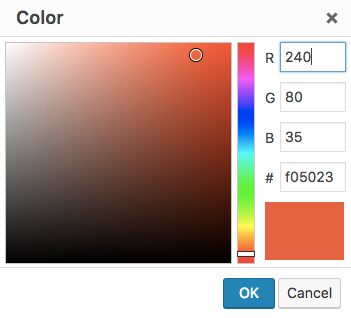
We will be adding a custom colour by clicking where it says Custom… From here you can use the colour picker or enter in the HEX or RGB values for your colour, if you know them.
After we Save Changes our text is now orange.
Images
Next we are going to add an image. We will place this is the 1/3 column, so that it sits next to our text.
Again, click on the + icon in the column, this time selecting the Single Image option.

This will bring up a new popup that looks like this:
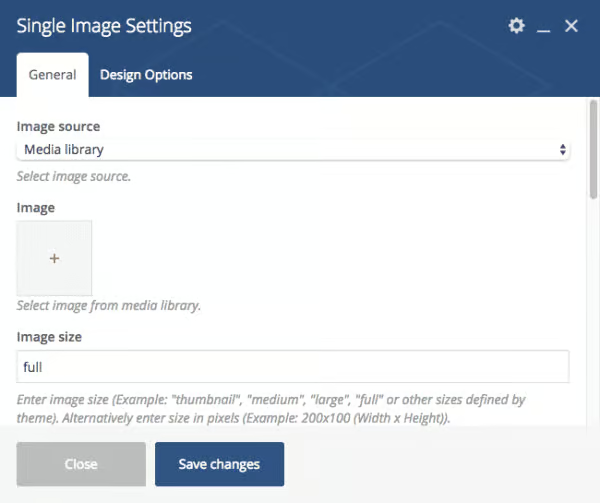
Click on the box with the green + icon where it says Image. This will open the media gallery where you can upload a new image or select from your existing images.
Click on your image and then click the Set Image button to select it.
Now we can adjust some of our image settings.
Size
First we will set the image size
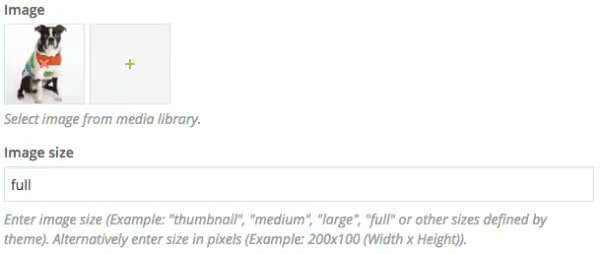
In the Image Size text box, type in the size you want your image to be. You can use one of the pre-defined sizes (thumbnail, medium, large or full) or enter in a pixel value.
Responsiveness
Next we can set whether or not the image is responsive.

Clicking the checkbox in this section will cause your image to expand or shrink with its container. This can be great with a high quality image but if your image is of a lower quality, or you want it to stay a certain size, leave this unchecked.
Captions
Check this box if you want to add your image’s caption.

Note: The image caption is set in the Media Gallery
Alignment
Last, but not least, we have Image Alignment. Use this dropdown to select how your image is aligned inside its columns. You can align your image to the left, to the right or centre it.

There are additional options but these are the basics you’ll need to know when adding your images.
Quick Tips
Setting Your Image
When you select your image and click Set Image, wait until you see your image displayed in the Single Image popup before clicking Save Changes. If you close the popup before this, the image may not be properly inserted.
Buttons
Now let’s add a button linking back to our Team page.
Click on the + icon agin and this time, select Button.
This will bring up the Button Settings:
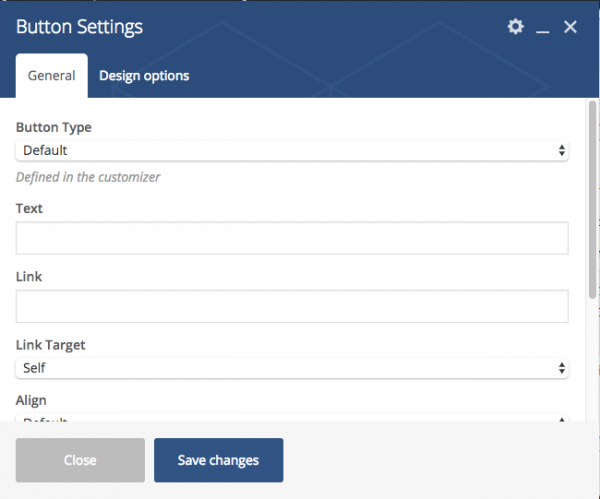
The first dropdown, Button Type, determines the style of your button. You have a choice between Default, Primary and Secondary buttons. The styling of these buttons is set elsewhere in the theme and depending on your theme settings, your buttons may look different from ours.
We will be using the Default button.
Next, we fill in the Text area with what we want out button to say.

Under Link, we put the URL we are linking to. In our case, we are linking to another page within our sight so we don’t need to add hiilite.com at the beginning. If you are linking outside of your sight, however, you must use the full address. Ex: http://hiilite.com/team/

For Link Target, you’ll likely only ever need the first two options. Self, which is set by default, just sets the link to take you to the new page. Blank will cause the link to open up in a new browser tab. Typically, you would choose this option if you are linking away from your site, so that your site remains open in the user’s browser.
The last setting we will be using is Align. Use this to align your button to the left, right or in the centre of your column.
Click Save Changes to finish your button.
Final Touches With Design Options
If you’ve taken a chance to Preview your page by this point, you’ll notice that it doesn’t quite match up with your design yet.
Now we will use the Design Options to make our final adjustments.
When you edit most elements there is a tab that says Design Options. Clicking on this tab will open new settings options.
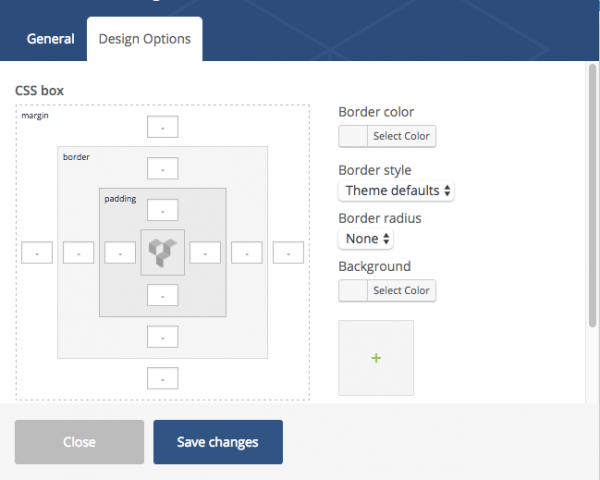
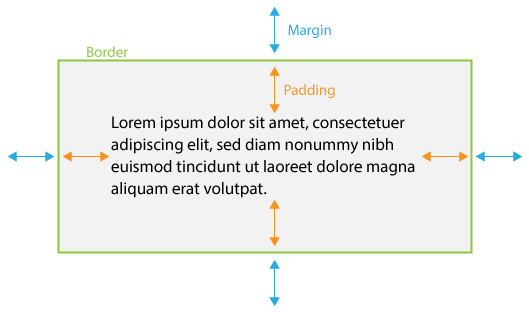
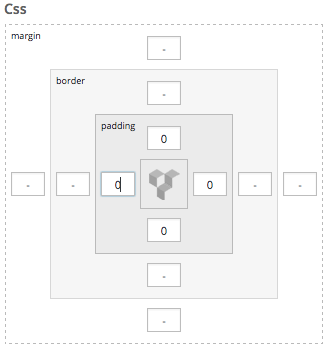
Margin & Padding
Margin is the white space around your element while Padding is the whitespace inside your element.
Border
The Border runs around the edge of your element.
The Margin, Padding and Border boxes can take a variety of values, such as pixels(px) or percentages (%).
For Border, you also need to set a colour and a style.
You can also set a background for your element in the Design Options. You can set a solid colour, or you can choose an image by clicking on the + icon. Just like when adding images to our page, this will open the media popup. After setting your image use the dropdown menu below the thumbnail to set how your background image will display.
Cover will make your background image scale to cover the entire area of your element. This will also crop your image to fit its container.
Contain will scale the image to the largest size possible within the container, without cutting any of it off.
No Repeat will place your background image once, and not repeat it if it does not cover the entire area.
Repeat will tile your image to fill the entire background.
Ok, so now that we understand what all of these options are and how they work, we will use them to finish up our layout.
First, we will adjust our title, by removing the default Padding, to bring it more inline with the rest of our text content.
This moves it a bit to far to the left, so now we will adjust the Margin.
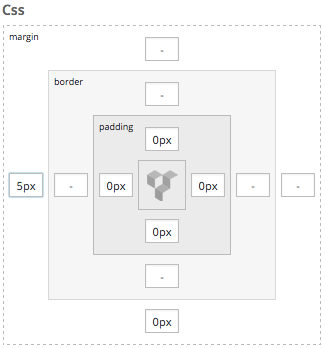
Next, we will adjust our “VP of Morale” text. We will remove the padding at the top to bring it closer to our title.
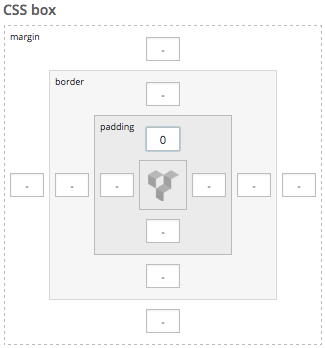
Finally, we will add some padding to the bottom of the containing row, to give our content some more breathing room on the page.

Now we have our finished page:
Now save your page, view it and admire your awesome skills.
Using Your Page As A Template
If you are going to be creating multiple pages with the same layout, you can create a template from an existing page. Simply click the Template button at the top of the Visual Composer editor ![]() .
.
This will open a popup:
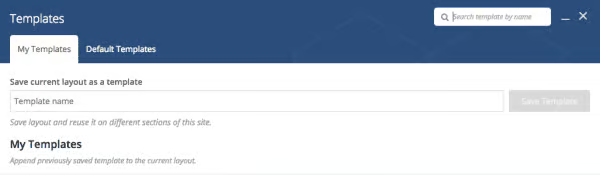
Name and save your template. Then, to use it, crate a new page and click the same button. You will now see your template listing in the popup. Just click on your template name and it will insert it into the page for you. Now all you need to do is update the content and you’re done!