Struggling to shoot outdoors in bright, natural light?
Discover how our Photography Team captured beautiful portraits in the snow filled mountains of British Columbia!
The winter months keep many photographers cooped up indoors, shooting the same style in their studio day after day, until the warm weather decides to make its triumphant return. At Hiilite, we love spending time in our studio, but we never miss a chance to jump outdoors when a beautiful blanket of snow coats the mountains surrounding Kelowna.
An open air environment is the perfect opportunity to expand your natural light skills and bring a creative flare to your winter portfolio. Interested in learning the techniques our photographer during our “Snow Queen” photo shoot? Our photographer, Donovan Wagner, breaks down his process for this project into 4 steps, which we have outlined for you below!
Step 1: Location Scouting

When you decide to plan a winter photo shoot, the location you choose will make or break your shots. You want the backdrop to reflect the theme and overall “feel” of the project that you have brainstormed. Depending on your geographical location, you might have to get a little creative and scout out multiple locations until you find an area that fits your needs.
If you live in heavily developed area, you can still achieve a setting that gives the look and feel of the snow covered backcountry. Search for local public parks and access points within or near your city where you and your model(s) will be relatively undisturbed. We are incredibly lucky to be based out of Kelowna, surrounded by towering mountains and endless amounts of greenery. Donovan and Tina Walzczak, our Creative Director, considered several locations before finally settling on the area surrounding Telemark Nordic Club. Why did they select this particular venue?
- Ample access to natural light
- Someone private area to make the model feel relaxed
- Undisturbed snow
- Well maintained access points
Step 2: Plan Mood Boards and Wardrobe

Before setting foot outdoors, you need to plan out the core elements and details of the proposed photo shoot. This starts with creating a mood board.
A mood board is guideline for the style of the various shots you hope to achieve during your photo shoot. This could encompass colours, themes, emotions, clothing, makeup, props, and overall style. Think of a mood board as a creative road map that everyone involved can follow along with. This will create synergy between the photographer, creative assistants and models, which will translate into high quality shots that are true to your original vision.
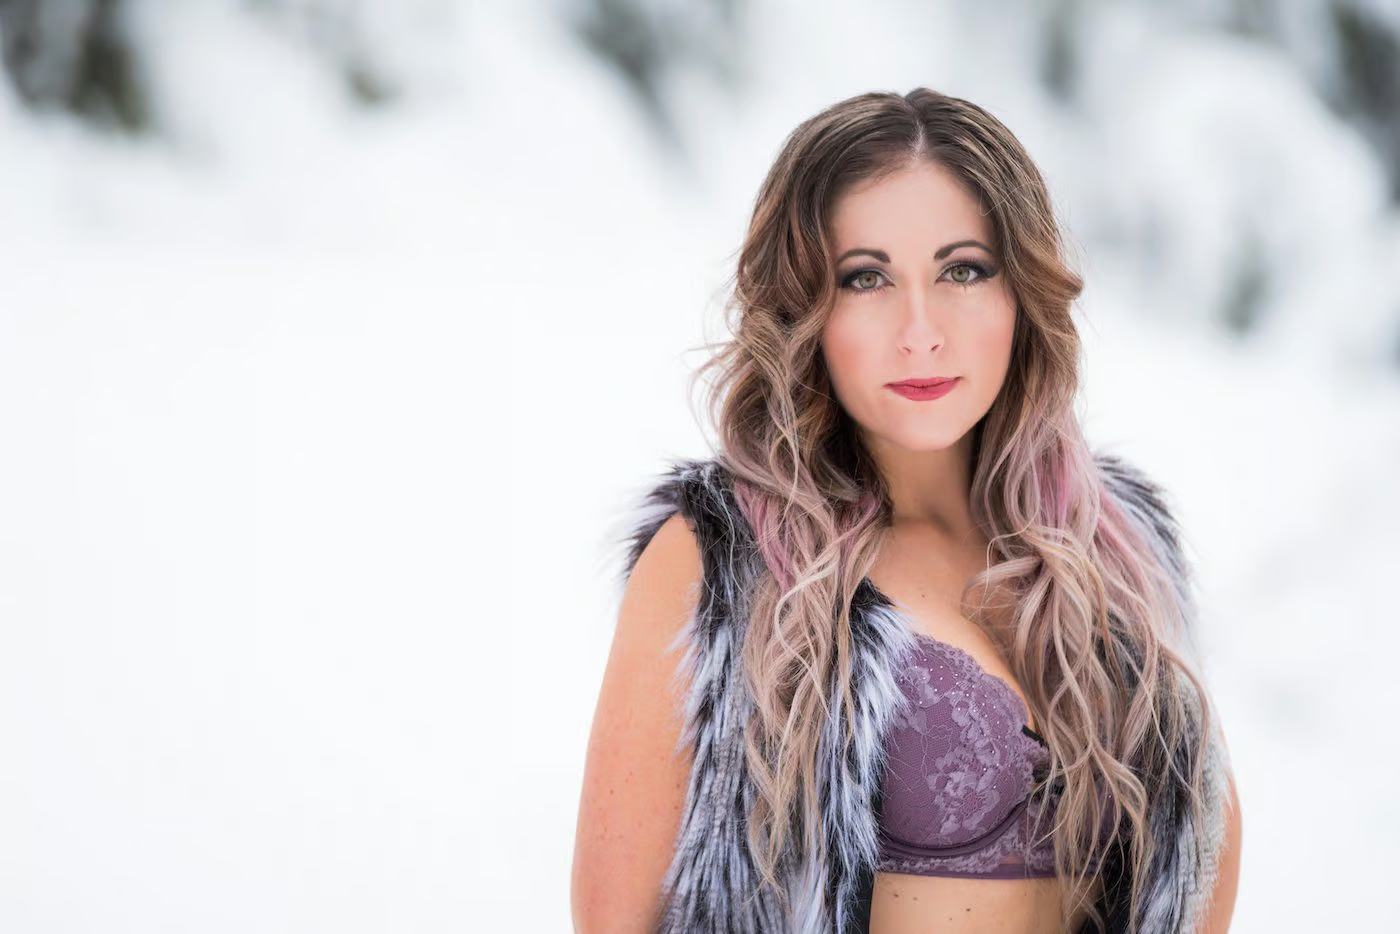
For the Snow Queen photo shoot, Donovan and Tina created a vision of warm beauty and elegance, surrounded by a pristine world draped in fresh snow. When brainstorming, they were drawn to materials and textures that emulated fur. As they planned their shots out on a mood board, they communicated the wardrobe and makeup requirements to their model, Amy Volpatti. This step of the process ensured that everyone involved was on the same page the day of the actual shoot. As you can see from our photo above, Amy brought an entire carload of wardrobe options; this is never a bad idea as it allows for a little creative improv on site!
Step 3: Adjust Camera Settings

If you don’t have a lot of experience shooting in natural light, Donovan suggests going out a few days before your scheduled photo shoot and playing around with your settings. When you are capturing images outdoors in the snow, especially on a bright sunny day, it will be very easy to overexpose and washout your photos. For those of us actually taking pictures, let’s get into the specific settings Donovan used with his Pentax K-1.
Donovan Wagner-
“Our first shots were captured in the open, soaking in all the beautiful natural light that we could for some nice soft headshots which I cropped at the chest. Due to the lighting I kept my camera at an ISO of 100, with a fast shutter speed of 1/500 and an open aperture of F2.8 for a soft bokeh effect.
Once we got some beautiful shots with both front lighting and back lighting we decided to trek into the woods- let me tell you this was a battle in 3 feet of snow! We began to shoot in the trees and found that the shade drastically changed our lighting. I adjusted my settings to an ISO of 400 and shutter speed of 1/250 at this time to keep the shots properly exposed at a F2.8 aperture.
We finished off our shoot with some headshots back out in the open and decided to switch lenses to a 85mm F1.4 to create a beautiful soft bokehlicious portrait. Due to the wide open aperture of 1.4, a fast shutter speed was required, so I quickly switched over to 1/1000. And yes, bokehlicious is totally a word… or it is now anyways!”
Step 4: Utilize Reflector

Are you interested in learning more about shooing outdoors in natural light? Reach out to our photographer, Donovan, and he will walk you through his advanced techniques that he has used to capture stunning Canadian landscapes and wildlife. Interested in scheduling a photo shoot with our team? Reach out to Donovan to explore your creative options!
Donovan’s contact information: [email protected]
Snow Queen Photo Shoot:
Photographer: Donovan Wagner
Creative Director: Tina Walczak
Model: Amy Volpatti
Behind the Scene Photography: Alexander VandeLaar